Testing a tagger
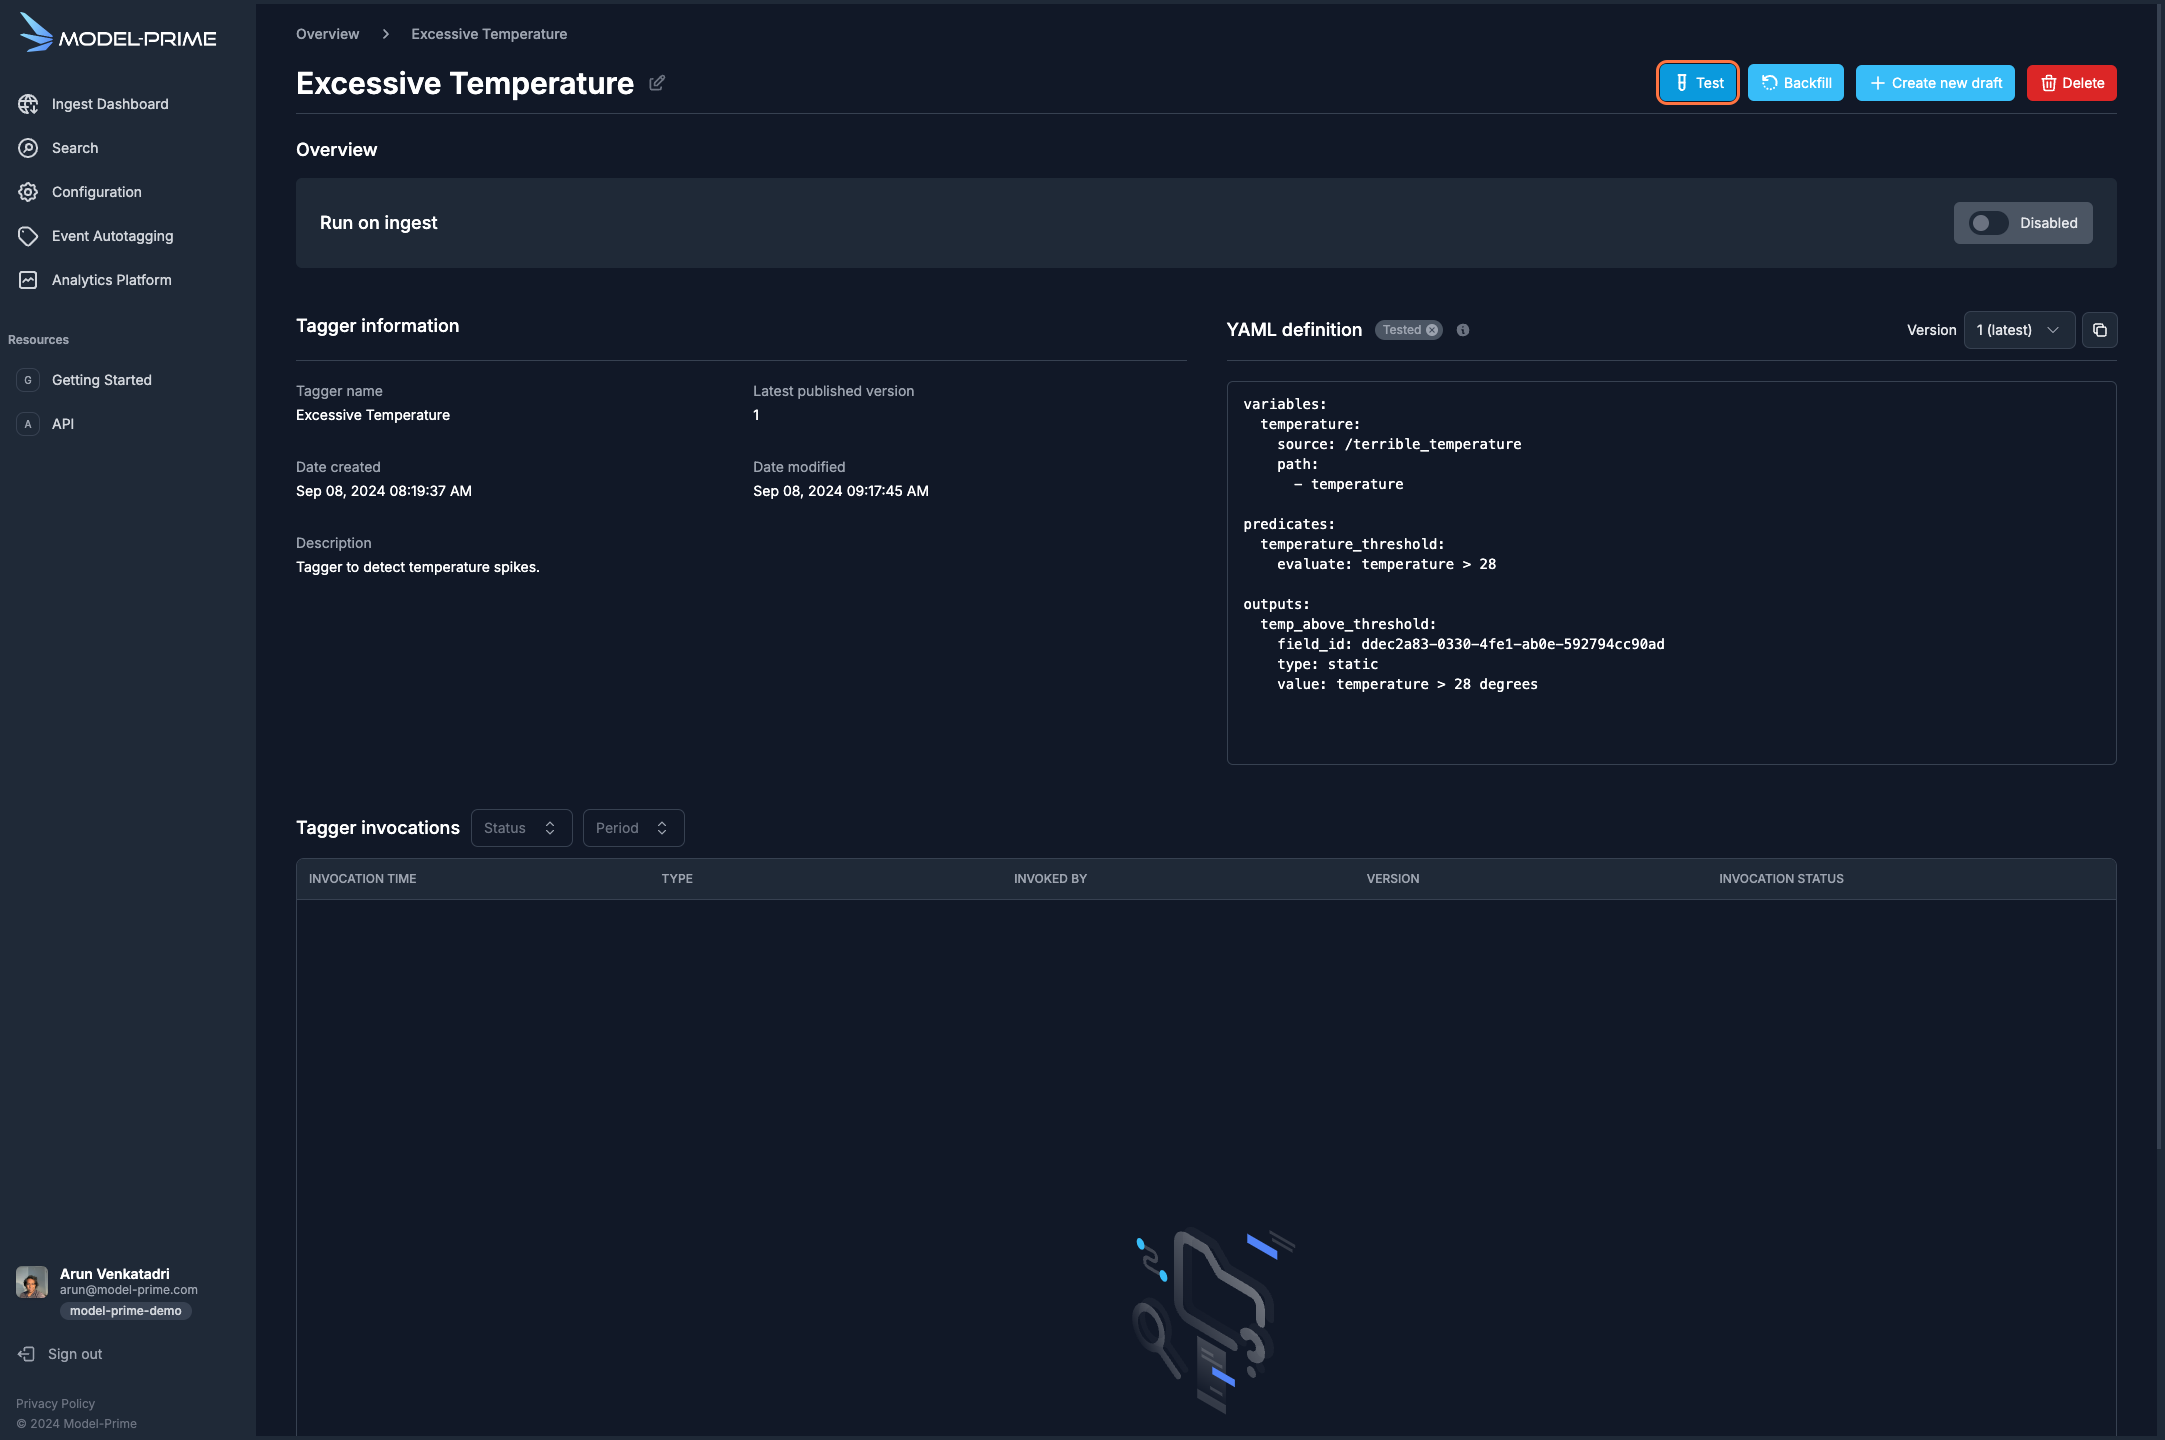
The tagger overview page displays the details of your tagger definition. From this page, you can do the following:
- Create a new draft version of the tagger
- Delete the tagger
- Test the tagger
- Run tagger backfill
- Enable the tagger normfill to run on ingest.
To test the tagger, you should run it against a log that you know should be tagged, as well as a control log. However, since you do not have a control log available, you will just run it against the log you previously analyzed.
- Click the
Testbutton.
-
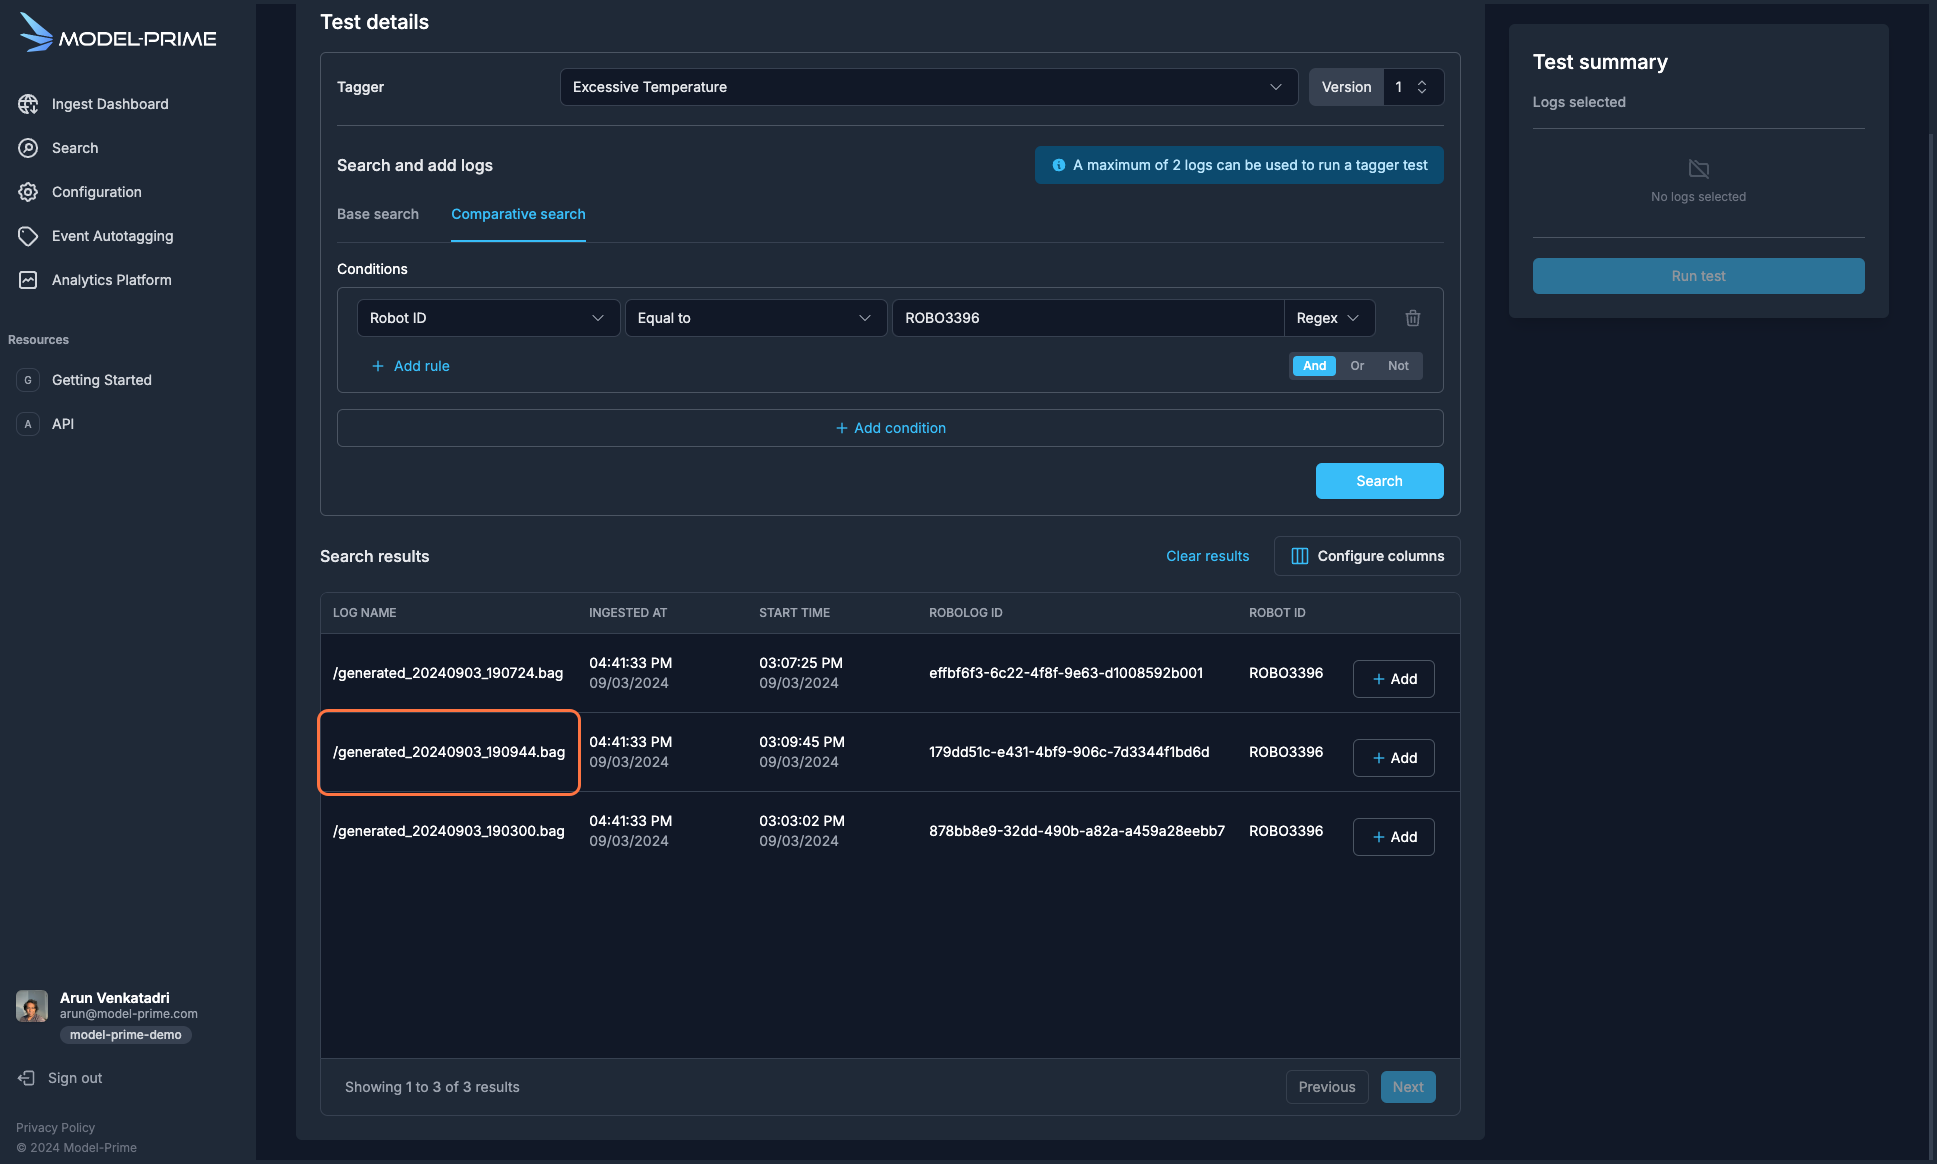
To run it against the log that you previously analyzed, click on
Comparative search. -
In the
Conditionssection, click on theRulefield and begin to typeRobot ID, selecting the field as it is autocompleted. -
Click on the
Selectin theSelect conditionfield and selectEqual to. -
Paste or type the following into the
Type in your filter valuefield.ROBO3396 -
Click on the
Searchbutton. You should see the log in the search results below. Select the log you analyzed in the previous step, which is the log named/generated_20240903_190944.bag.
-
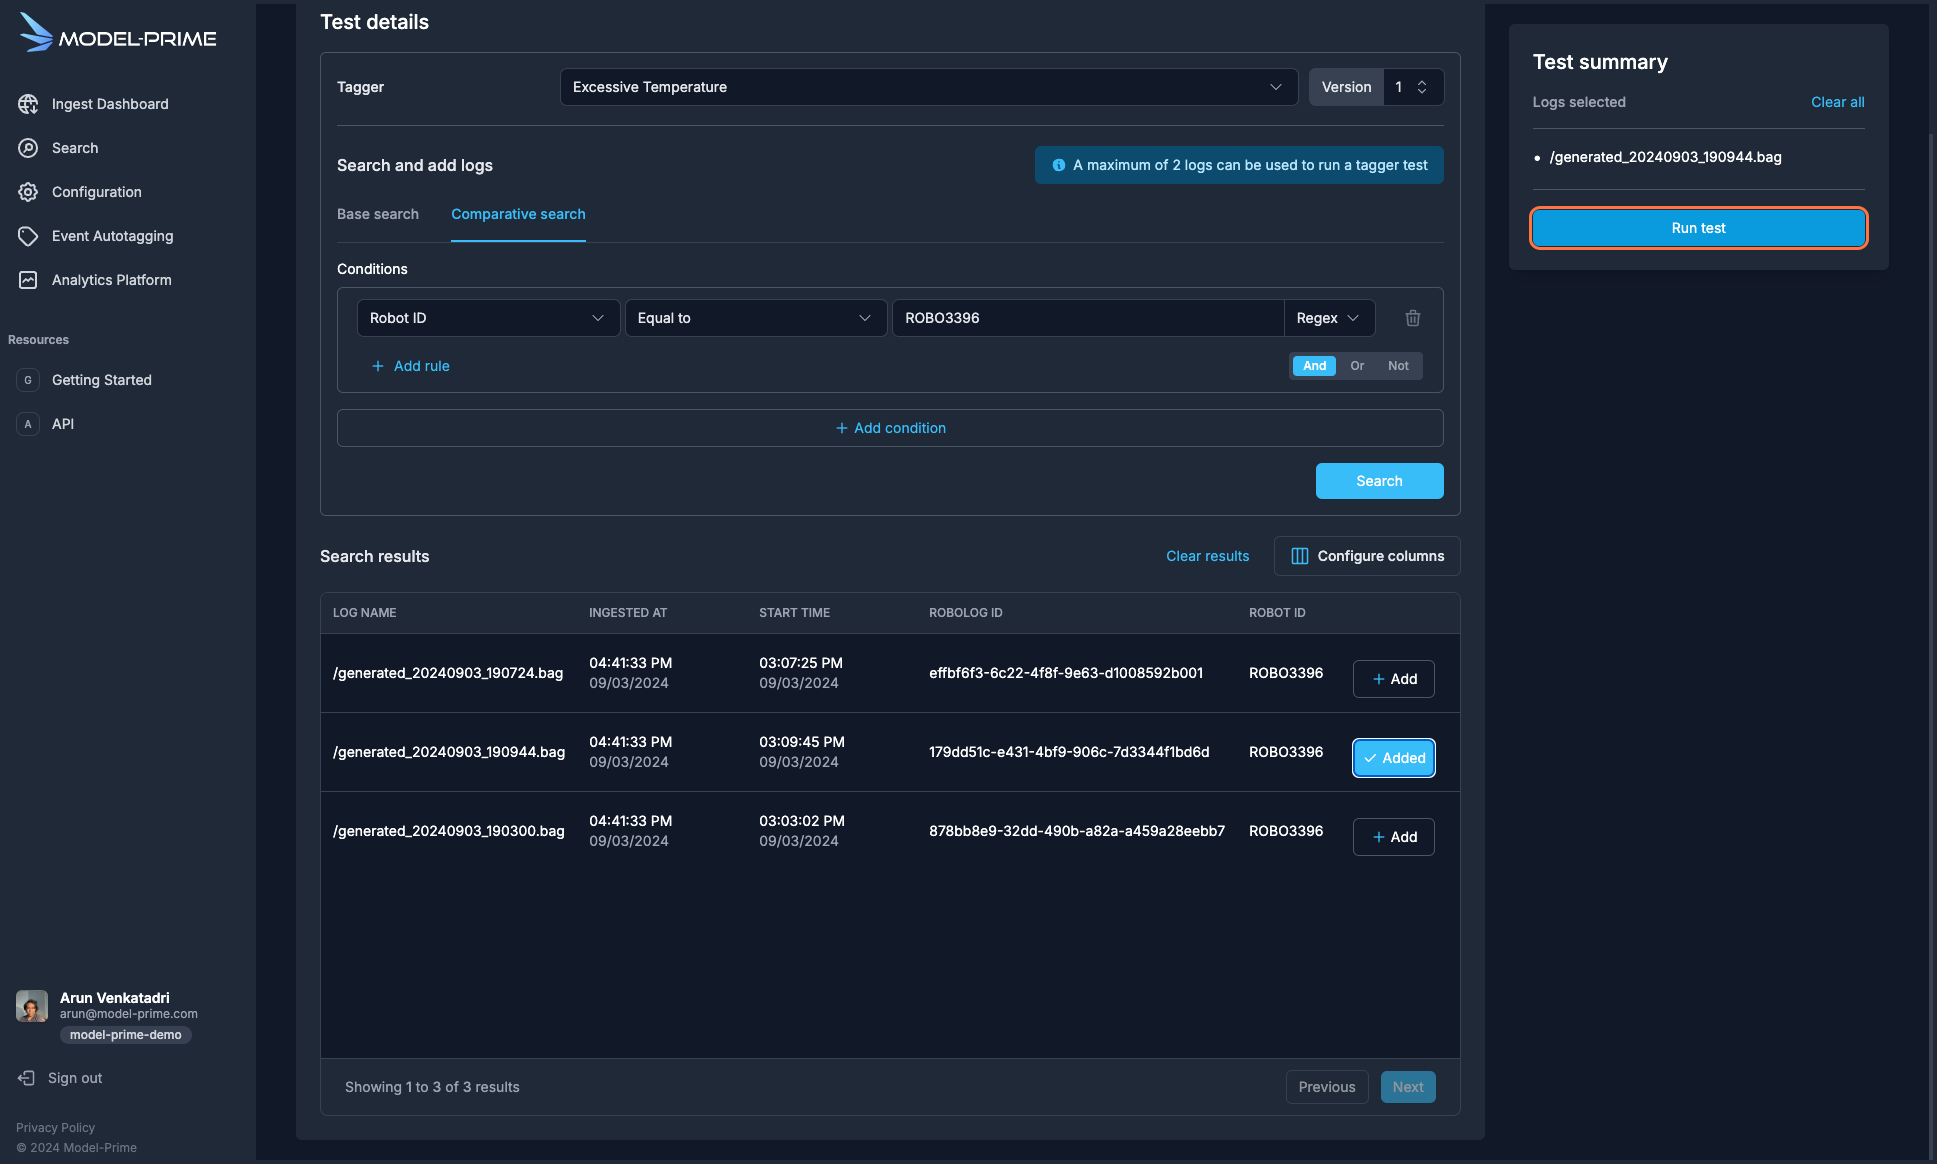
Click the
+ Addbutton to add the log to theLogs selectedlist in theTest summarysection on the right panel. -
Click the
Run Testbutton to run the test.
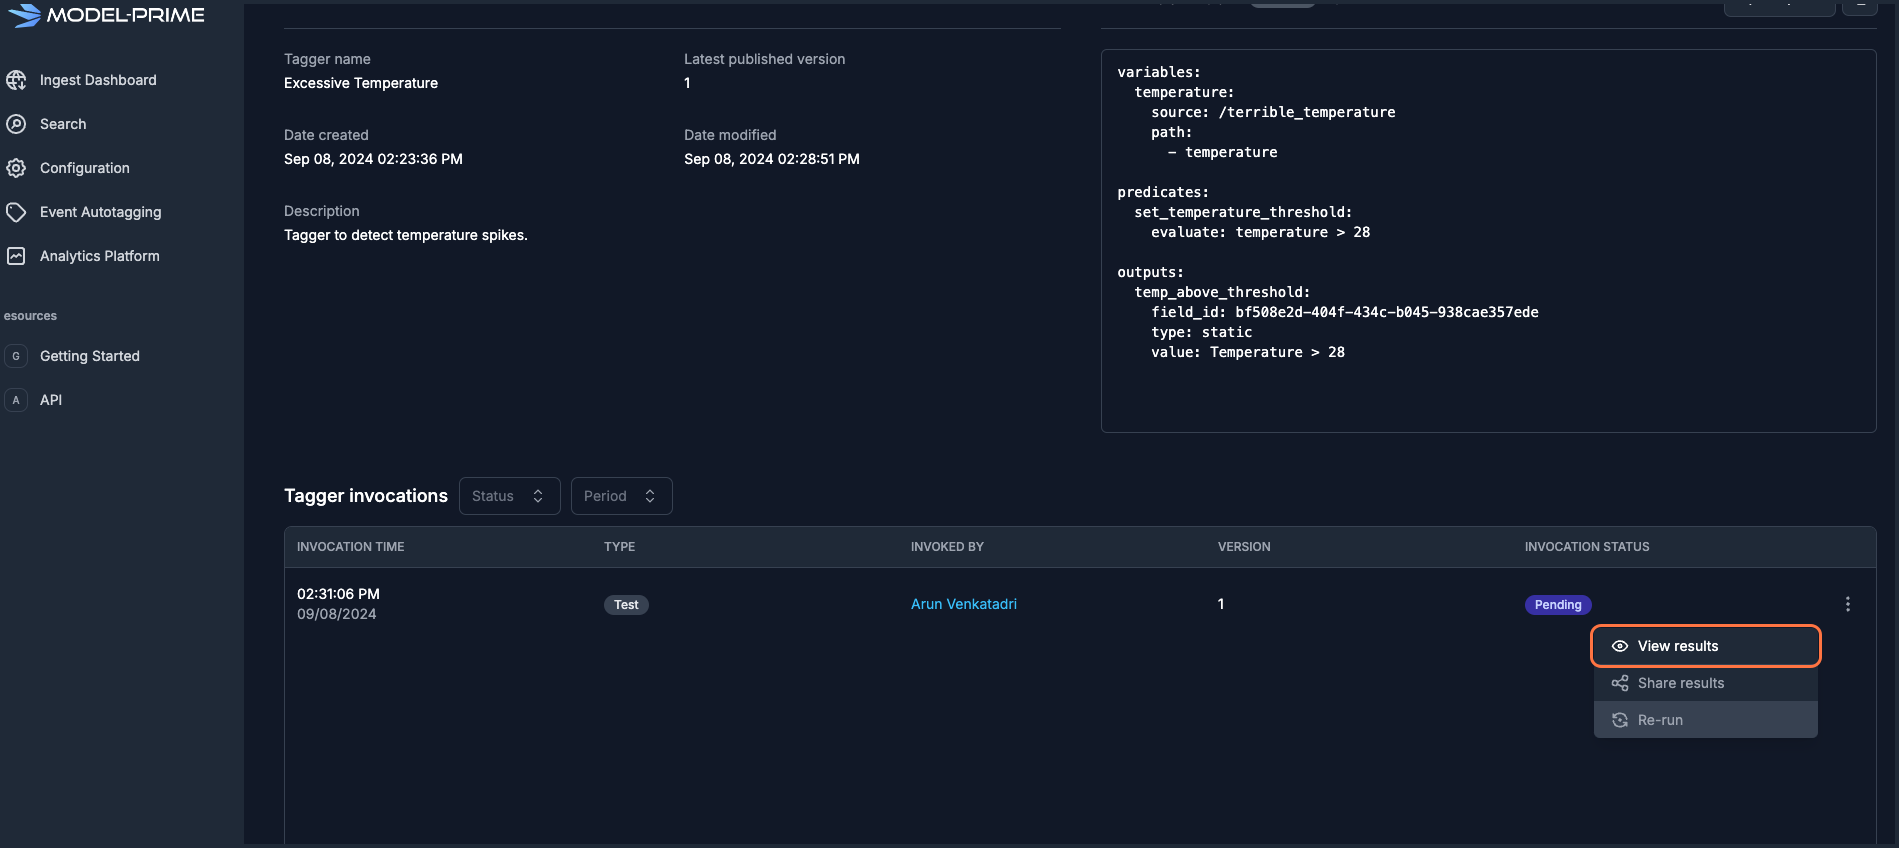
- Navigate back to the
Event Autotagginghomepage.

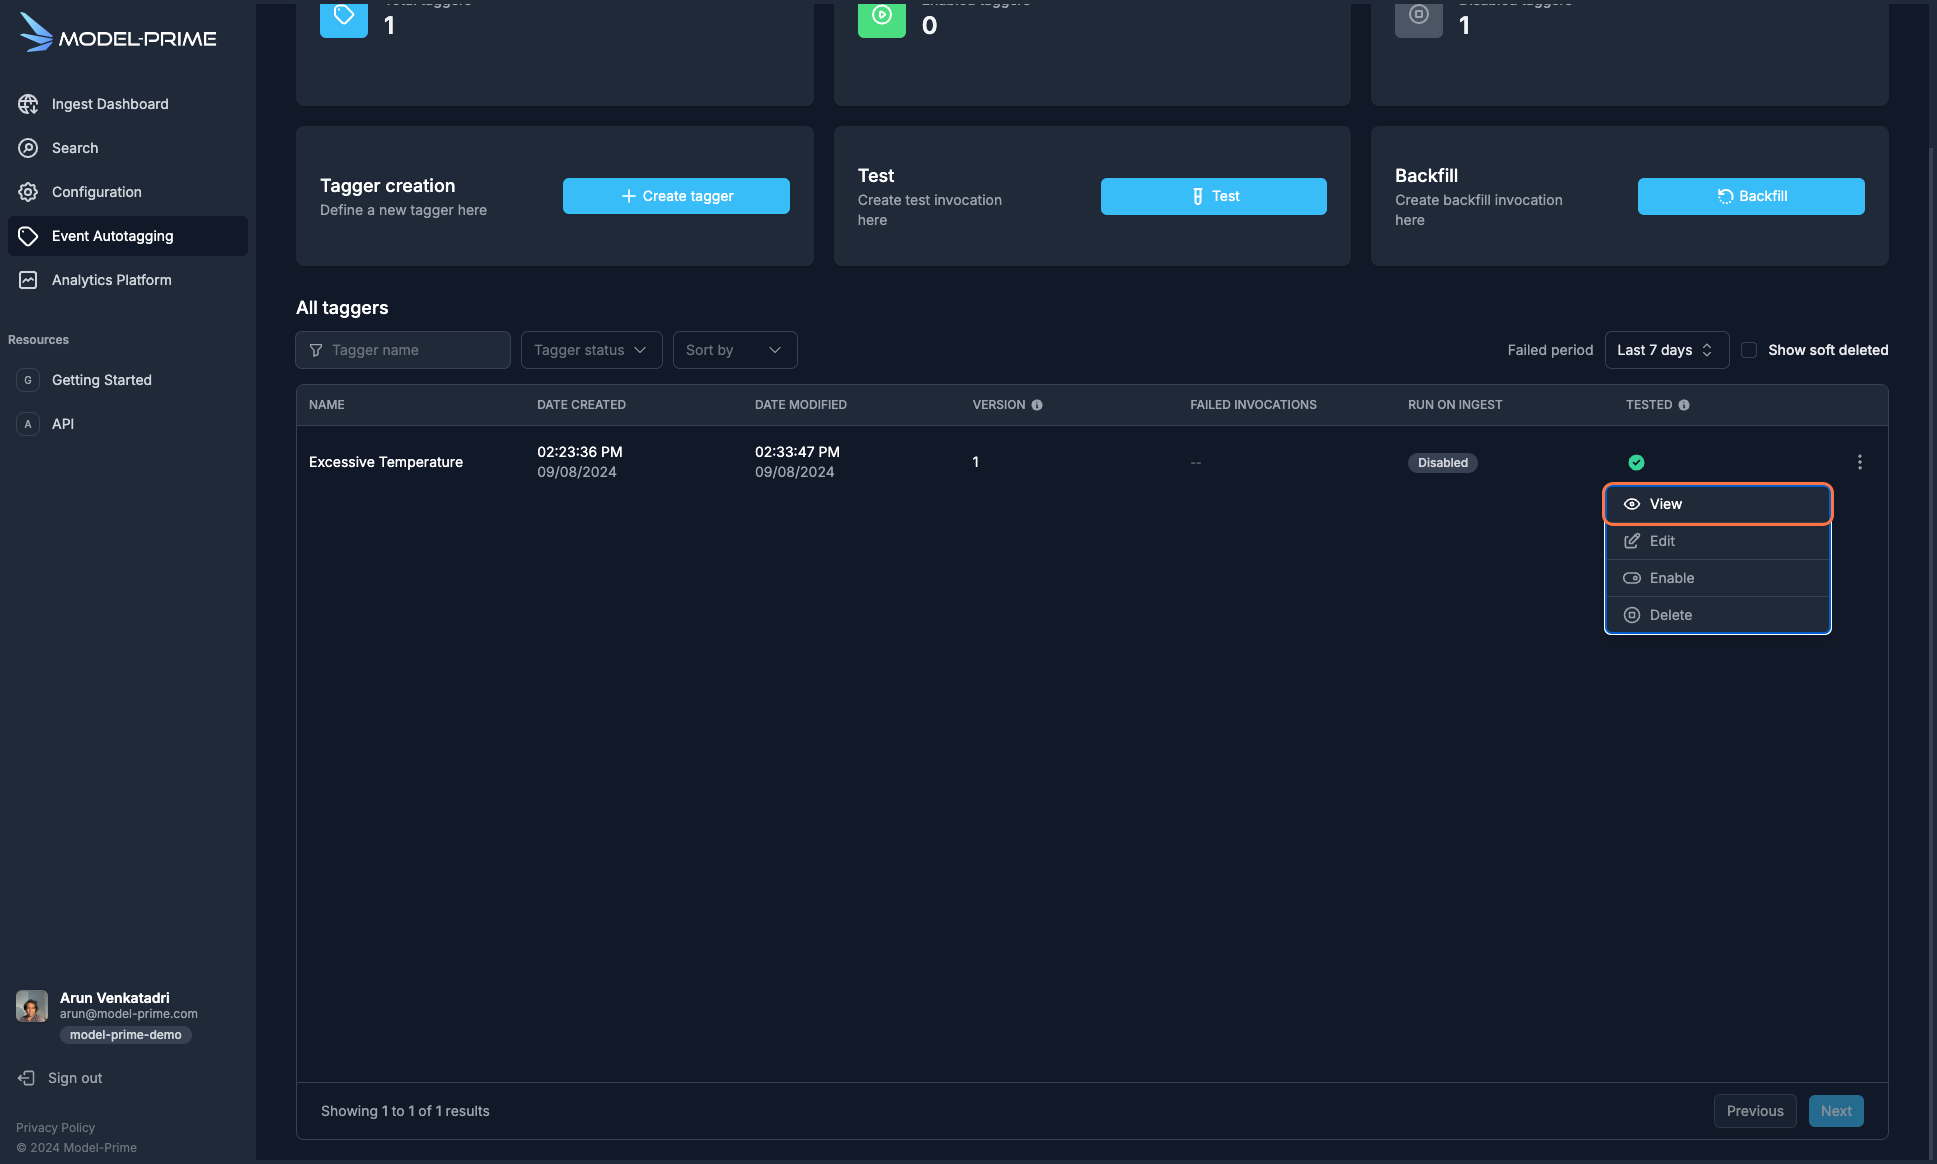
- Click on the (⋮) menu next to the tagger you created and select
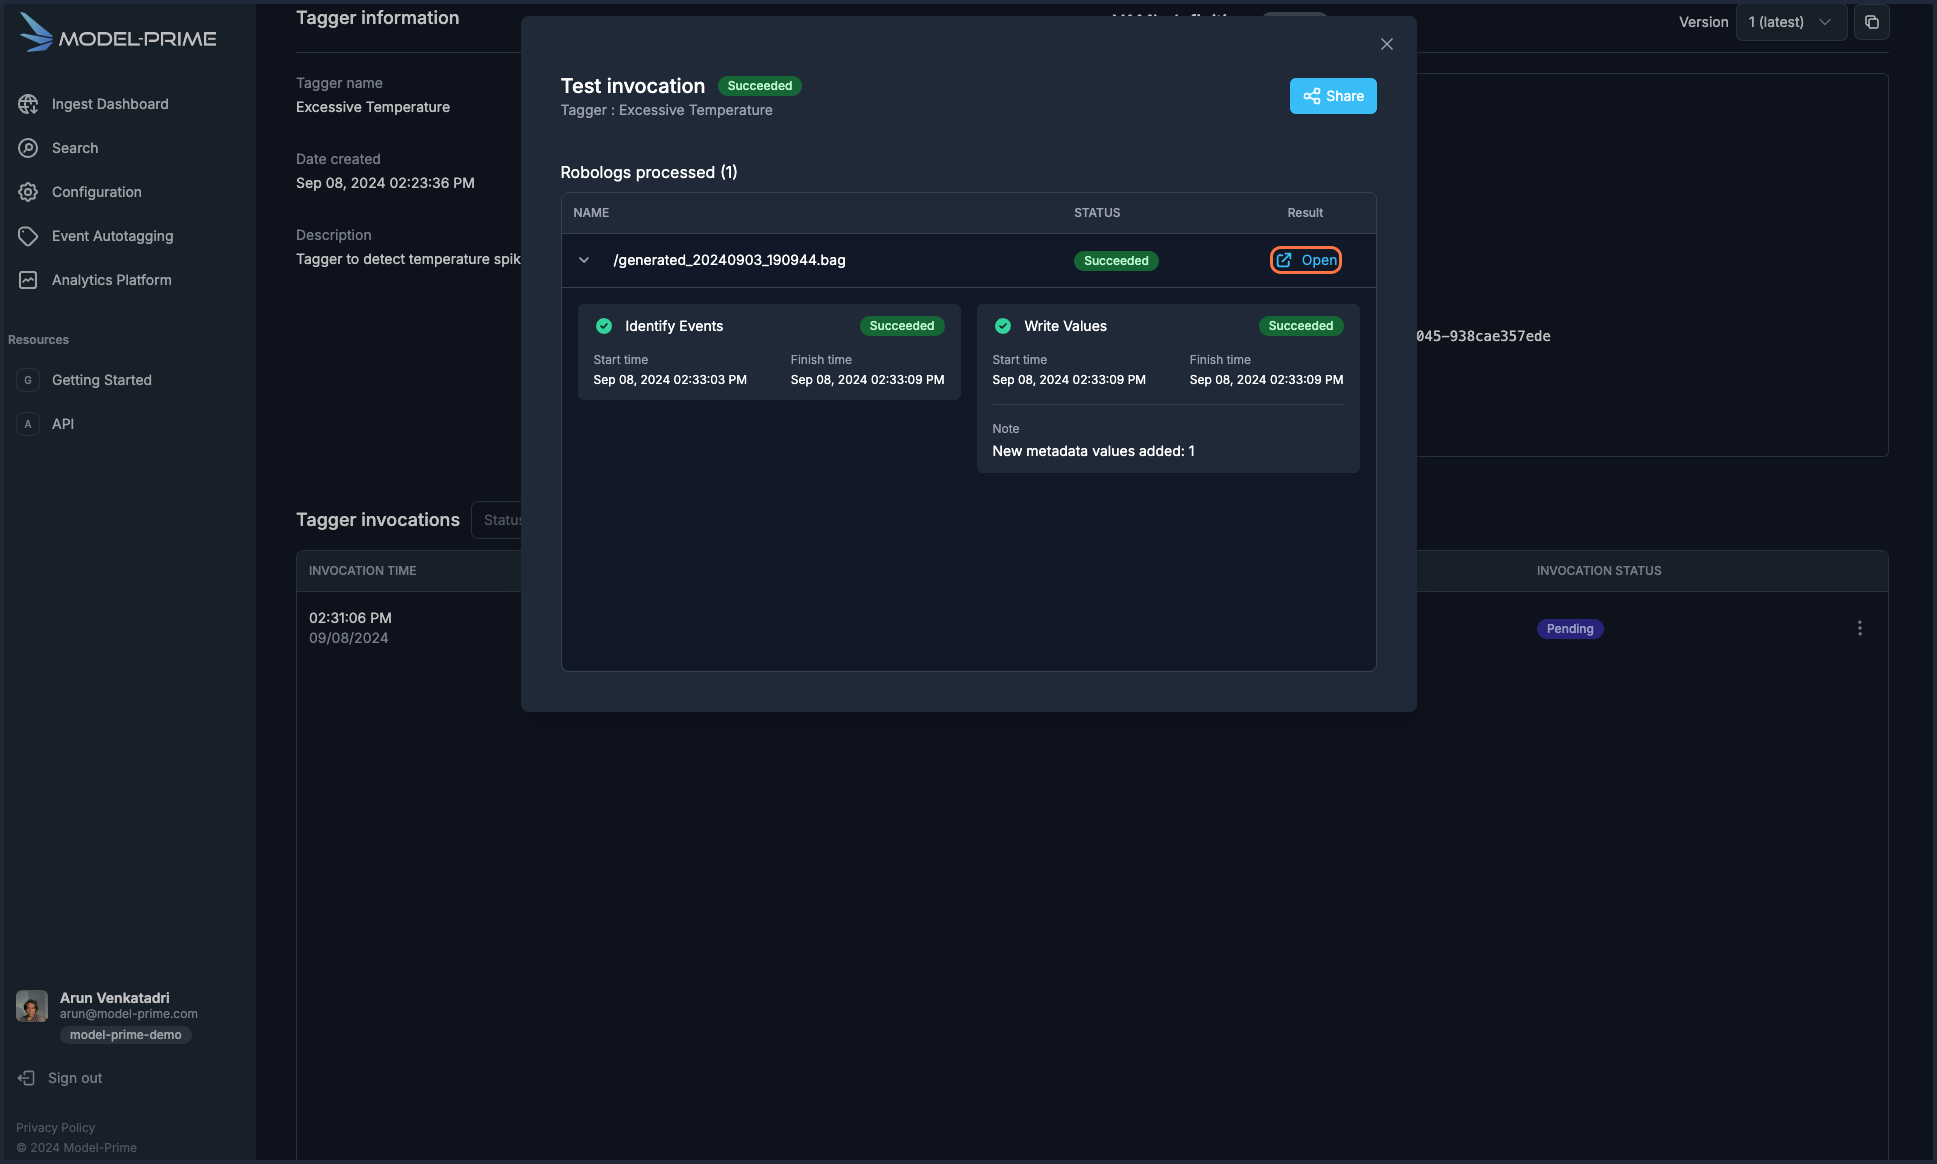
View Results. You should see a window similar to the window below. A tagger may take some time to run, so if you don't see aSucceededstatus like below try again in a moment.
- Click
Opennext to the log you tested. This will open the metadata details page for that log in a new tab.
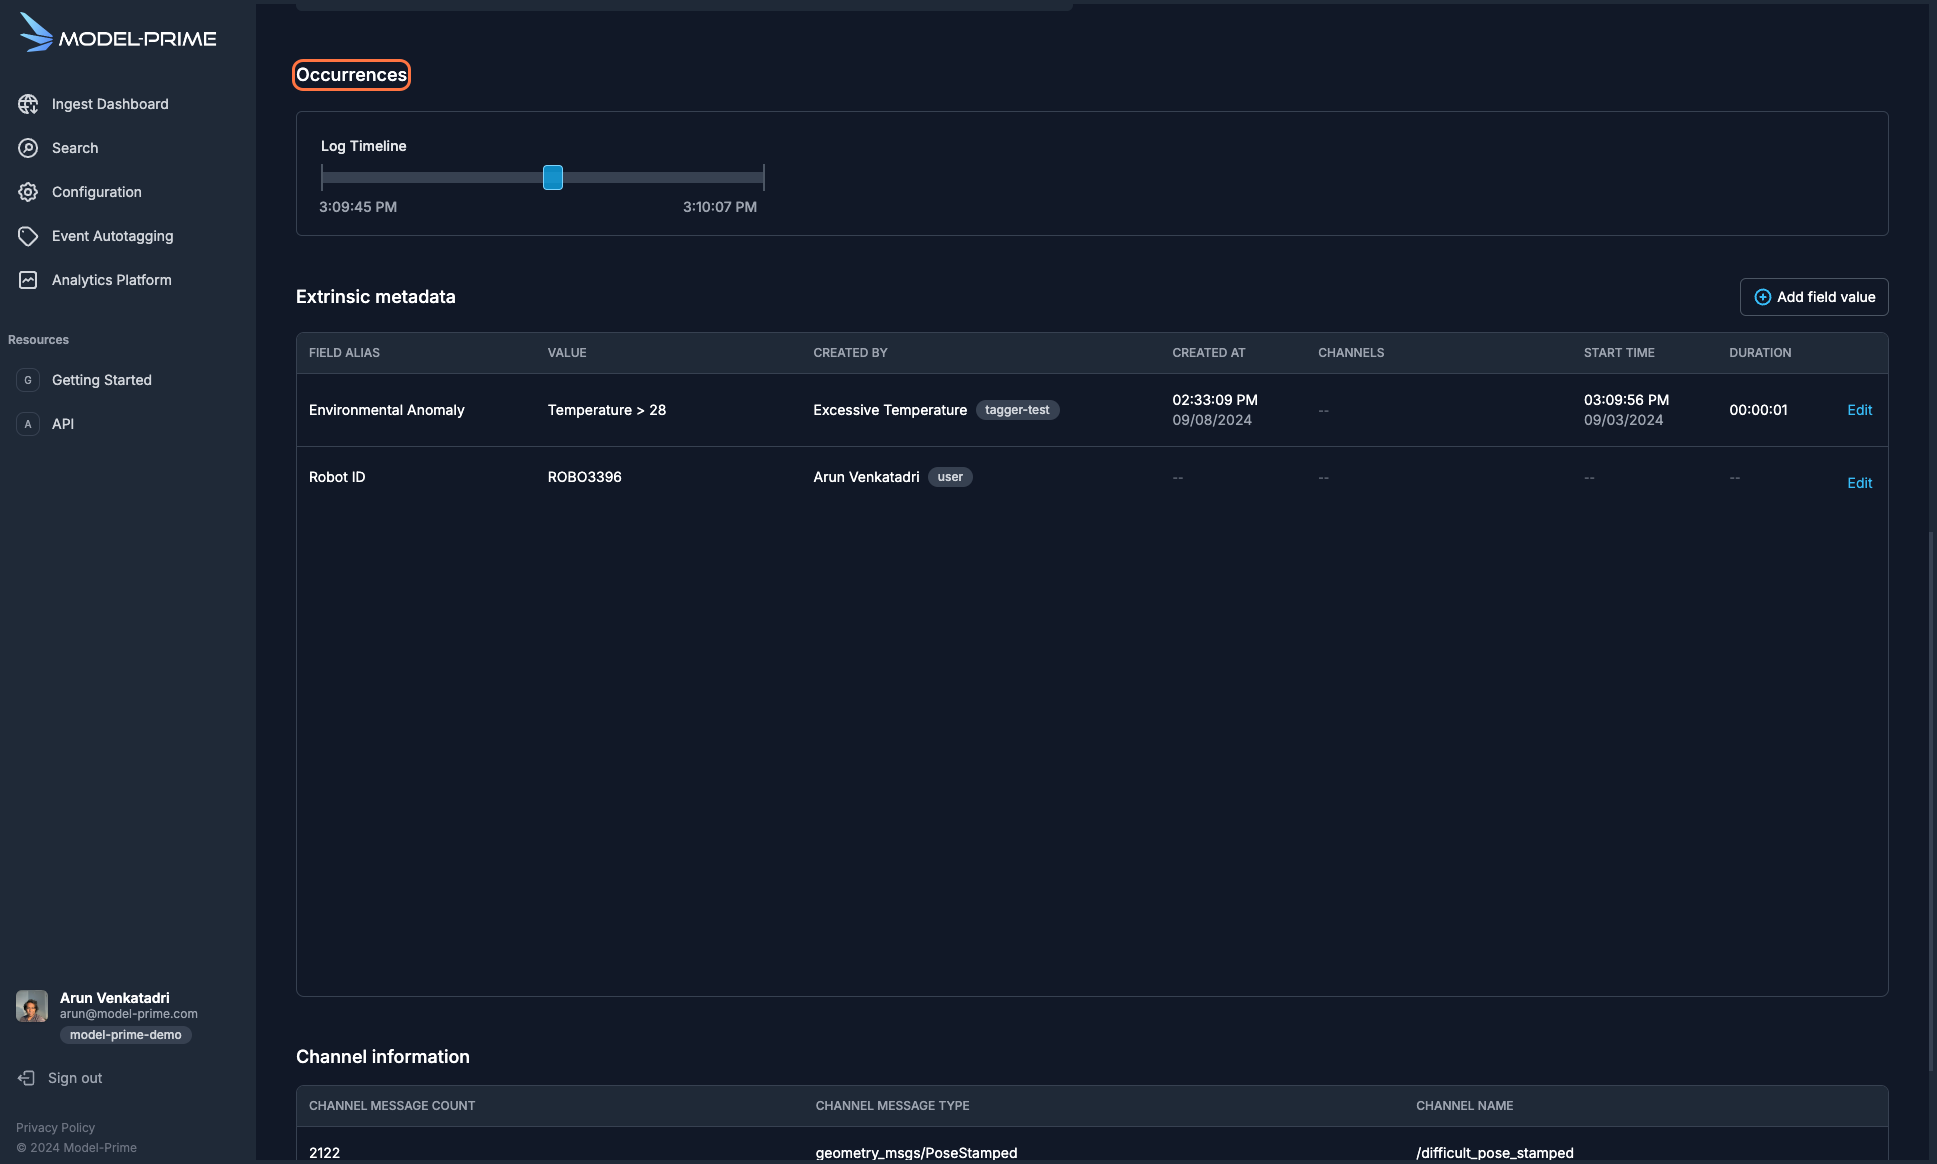
- You can see the event that was written on the log timeline and also in the
Extrinsic metadatapanel .
NOTE: Data created by a test invocation is intended to support tagger development and verification and should be considered temporary.
- Now that you are confident in the results of the event autotagger that you created, you can run a backfill for the tagger. Navigate back to the tagger overview page by switching back to the previous tab, or click
Event Autotaggingin the left hand menu and click the (⋮) menu next to the tagger you created. SelectViewto proceed to the next step.